CMS Data Analysis School Pre-Exercises - Fifth Set
Overview
Teaching: 0 min
Exercises: 30 minQuestions
How do I setup git on my computer/cluster?
How do I collaborate using GitHub?
Objectives
Setup your git configuration for a given computer.
Learn how to make and commit changes to a git repository.
Learn how to create a pull request on GitHub.
Introduction
This exercise is intended to provide you with basic familiarity with Git and GitHub for personal and collaborative use, including terminology, commands, and user interfaces. The exercise proceeds step-by-step through a standard collaboration “Fork and Pull” workflow. This is a highly condensed version of the tutorial exercises at CMSGitTutorial. Students are encouraged to explore those more in-depth exercises if they want to learn more about using Git. There are also accompanying slides on that twiki page. Students with no experience using Git or other version control software are recommended to read at least the first set of slides.
Warning
As a prerequisite for this exercise, please make sure that you have correctly followed the instructions for obtaining a GitHub account in the setup instructions.
Google Form
Please post your answers to the questions in the Google form fifth set.
Exercise 18 - Learning Git and GitHub
Git Configuration
Begin by setting up your .gitconfig on your local machine or cmslpc:
git config --global user.name "[Name]"
git config --global user.email [Email]
git config --global user.github [Account]
Make sure you replace [Name], [Email], and [Account] with the values corresponding to your GitHub account. After this, you can check the contents of .gitconfig by doing:
cat ~/.gitconfig
Output
[user]
    name = [Name]
    email = [Email]
    github = [Account]
Optional settings:
- Your preferred editor:
git config --global core.editor [your preferred text editor]
- This setting makes Git push the current branch by default, so only the command
git push originis needed. (NOTE: do not try to execute that command now; it will not work without a local repository, which you have not created yet.)
git config --global push.default current
- This is an alias to make the print out of the log more concise and easier to read.
git config --global alias.lol 'log --graph --decorate --pretty=oneline --abbrev-commit'
- These make it easier to clone repositories from GitHub or CERN GitLab, respectively. For example,
git clone github:GitHATSLPC/GitHATS.git.
         git config --global url."git@github.com:".insteadOf github:
         git config --global url."ssh://git@gitlab.cern.ch:7999/".insteadOf gitlab:
GitHub User Interface
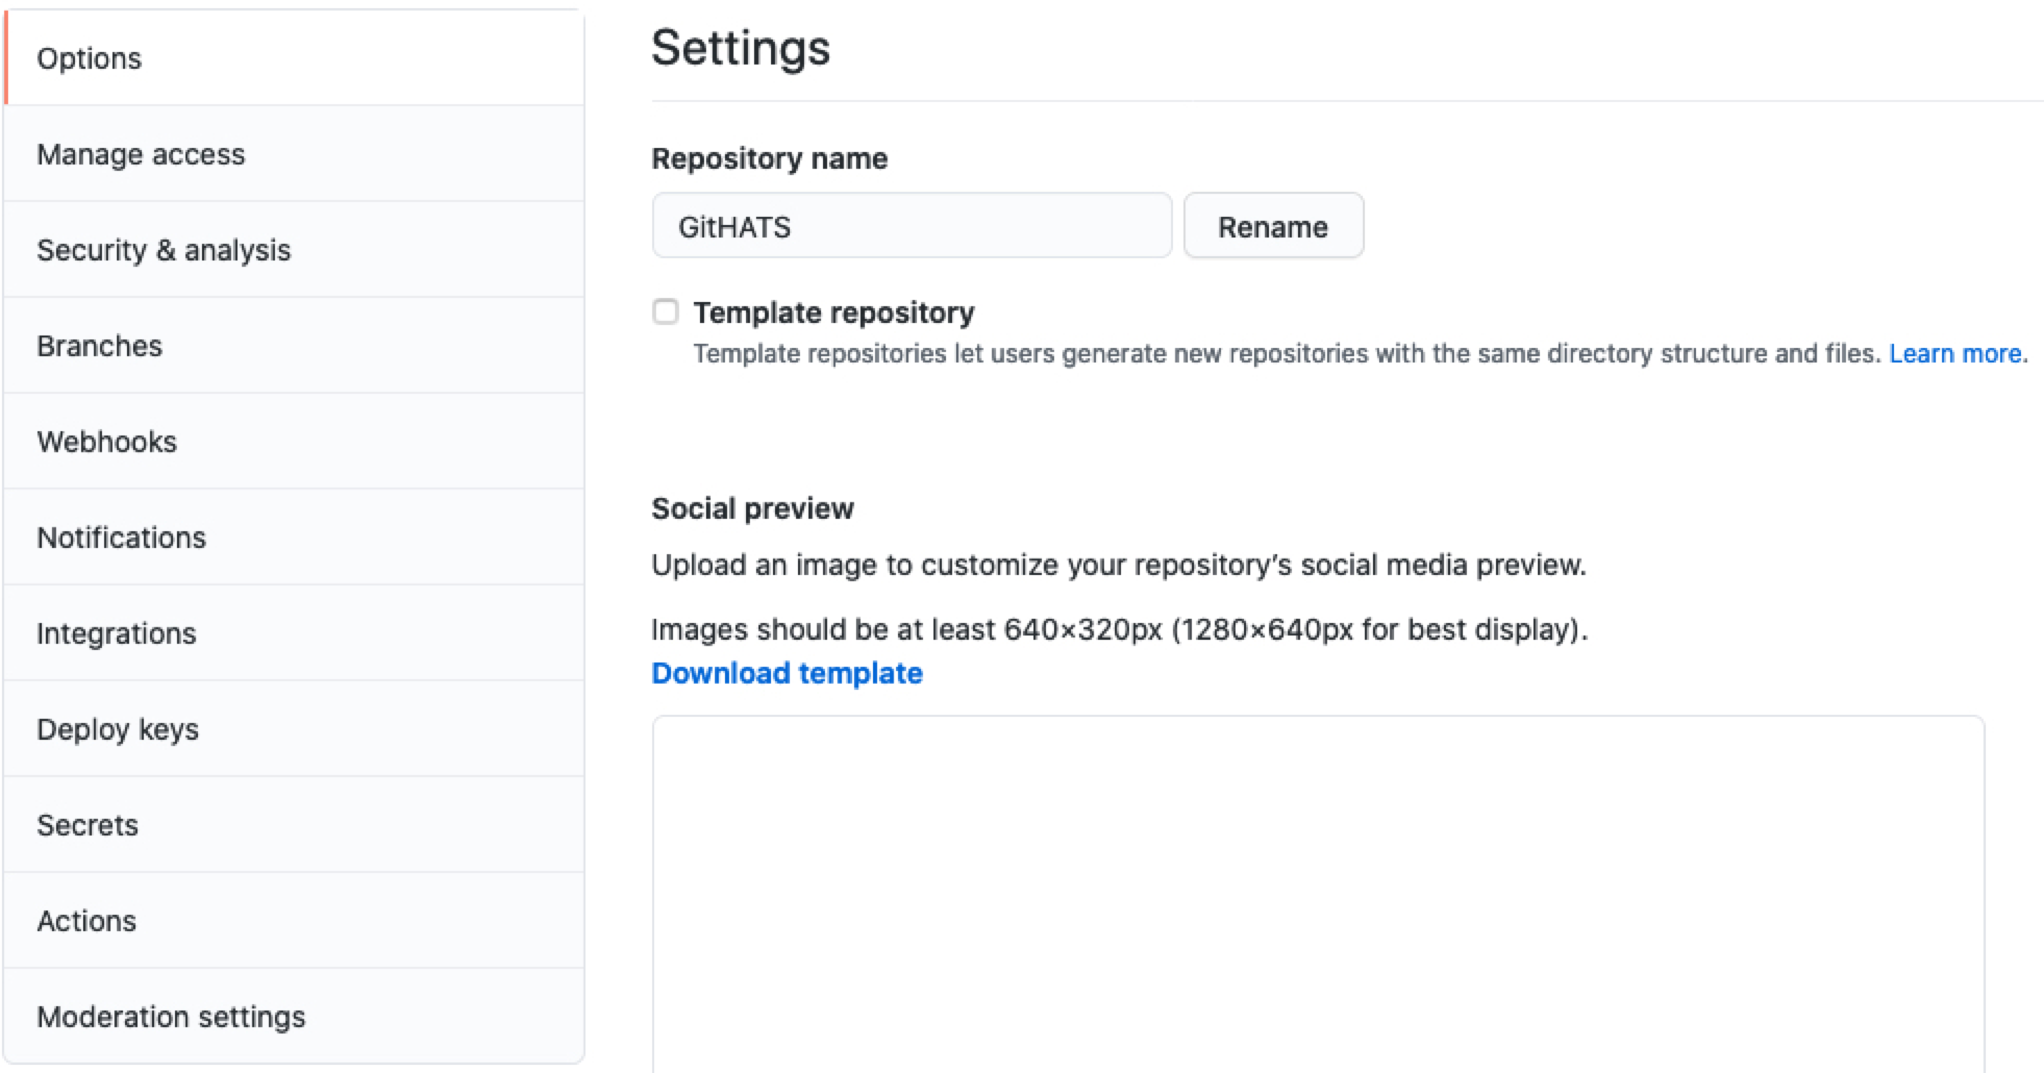
Look carefully at the GitHub user interface on the main page for the GitHATSLPC/GitHATS repository. Click on various tabs.
- Top left row: Code, Issues, Pull Requests, Actions, Projects, Wiki, Security, Insights, Settings

-
Settings: Options, Collaborators, Branches

-
Top right row: Notifications, Star, Fork

-
Lower row on Code page: commits, branches, releases, contributors

Collaboration on GitHub
Fork the repository GitHATSLPC/GitHATS repository by clicking “Fork” at the top right corner of the page. This makes a copy of the repository under your GitHub account.
Clone your fork of the repository to a scratch directory on your local machine or cmslpc:
mkdir scratch
git clone git@github.com:[user]/GitHATS.git
Output
Cloning into 'GitHATS'...
Enter passphrase for key '/home/------/.ssh/id_rsa':
remote: Counting objects: 21, done.
remote: Total 21 (delta 0), reused 0 (delta 0), pack-reused 21
Receiving objects: 100% (21/21), done.
Resolving deltas: 100% (5/5), done.
Checking connectivity... done.
What does the ls command show?
cd GitHATS
ls -a
Output
. .. .git README.md standard_model.md
The .git folder contains a full local copy of the repository.
Inspect the .git directory:
ls .git
Output
config description HEAD hooks index info logs objects packed-refs refs
When you use git clone as we did above, it starts your working area on the default branch for the repository. In this case, that branch is master. (The default branch for a repo can be changed in the “Branches” section of the GitHub settings page, which you explored in the previous step.)
Inspect the branches of the repository.
git branch -a
Output
* master
  remotes/origin/HEAD -> origin/master
  remotes/origin/atlas_discovery
  remotes/origin/cms_discovery
  remotes/origin/dune_discovery
  remotes/origin/master
Adding remotes and synchronizing
Look at your remote(s):
git remote
Output
origin
Hint
For additional information you can add the
-voption to the commandgit remote -vOutput
origin  git@github.com:[user]/GitHATS.git (fetch)
origin  git@github.com:[user]/GitHATS.git (push)
The “origin” remote is set by default when you use git clone. Because your repository is a fork, you also want to have a remote that points to the original repo, traditionally called “upstream”.
Add the upstream remote and inspect the result:
git remote add upstream git@github.com:GitHATSLPC/GitHATS.git
git remote -v
Output
origin  git@github.com:[user]/GitHATS.git (fetch)
origin  git@github.com:[user]/GitHATS.git (push)
upstream        git@github.com:GitHATSLPC/GitHATS.git (fetch)
upstream        git@github.com:GitHATSLPC/GitHATS.git (push)
Before you make edits to your local repo, you should make sure that your fork is up to date with the main repo. (Someone else might have made some updates in the meantime.)
Check for changes in upstream:
git pull upstream master
Output
From github.com:GitHATSLPC/GitHATS
 * branch            master     -> FETCH_HEAD
 * [new branch]      master     -> upstream/master
Already up-to-date.
Note
git pull upstream masteris equivalent to the following two commands:git fetch upstream master git merge upstream/master
If you pulled any changes from the upstream repository, you should push them back to origin. (Even if you didn’t, you can still practice pushing; nothing will happen.)
Push your local master branch back to your remote fork:
git push origin master
Output
Everything up-to-date
Making edits and committing
When collaborating with other developers on GitHub, it is best to make a separate topic branch to store any changes you want to submit to the main repo. This way, you can keep the default branch in your fork synchronized with upstream, and then make another topic branch when you want to make more changes.
Make a topic branch:
git checkout -b MyBranch
Edit the table standard_model.md to add a new particle. The new particle is called a Giton, with symbol G, spin 2, charge 0, and mass 750 GeV.
Note
Any resemblance to any other real or imaginary particles is entirely coincidental.
Once you have made changes in your working area, you have to stage the changes and then commit them. First, you can inspect the status of your working area.
Try the following commands to show the status:
git status
Output
On branch MyBranch
Changes not staged for commit:
  (use "git add ..." to update what will be committed)
  (use "git checkout -- ..." to discard changes in working directory)

        modified:   standard_model.md

no changes added to commit (use "git add" and/or "git commit -a")
git status -s
Output
M standard_model.md
git diff
Output
diff --git a/standard_model.md b/standard_model.md
index 607b7b6..68f37ad 100644
--- a/standard_model.md
+++ b/standard_model.md
@@ -18,4 +18,5 @@ The Standard Model of Particle Physics
 | Z boson       | Z      | 1    | 0       | 91.2                    |
 | W boson       | W      | 1    | ±1      | 80.4                    |
 | gluon         | g      | 1    | 0       | 0                       |
-| Higgs boson   | H      | 0    | 0       | 125                     |
\ No newline at end of file
+| Higgs boson   | H      | 0    | 0       | 125                     |
+| Giton         | G      | 2    | 0       | 750                     |
Now stage your change, and check the status:
git add standard_model.md
git status -s
Output
M standard_model.md
Commit your change:
git commit -m "add Giton to standard model"
Output
[MyBranch b9bc2ce] add Giton to standard model
 1 file changed, 2 insertions(+), 1 deletion(-)
Push your topic branch, which now includes the new commit you just made, to origin:
git push origin MyBranch
Output
Enumerating objects: 5, done.
Counting objects: 100% (5/5), done.
Delta compression using up to 8 threads
Compressing objects: 100% (3/3), done.
Writing objects: 100% (3/3), 356 bytes | 356.00 KiB/s, done.
Total 3 (delta 1), reused 0 (delta 0)
remote: Resolving deltas: 100% (1/1), completed with 1 local object.
remote:
remote: Create a pull request for 'MyBranch' on GitHub by visiting:
remote:      https://github.com/mtonjes/GitHATS/pull/new/MyBranch
remote:
To github.com:mtonjes/GitHATS.git
 * [new branch]      MyBranch -> MyBranch
Making a pull request
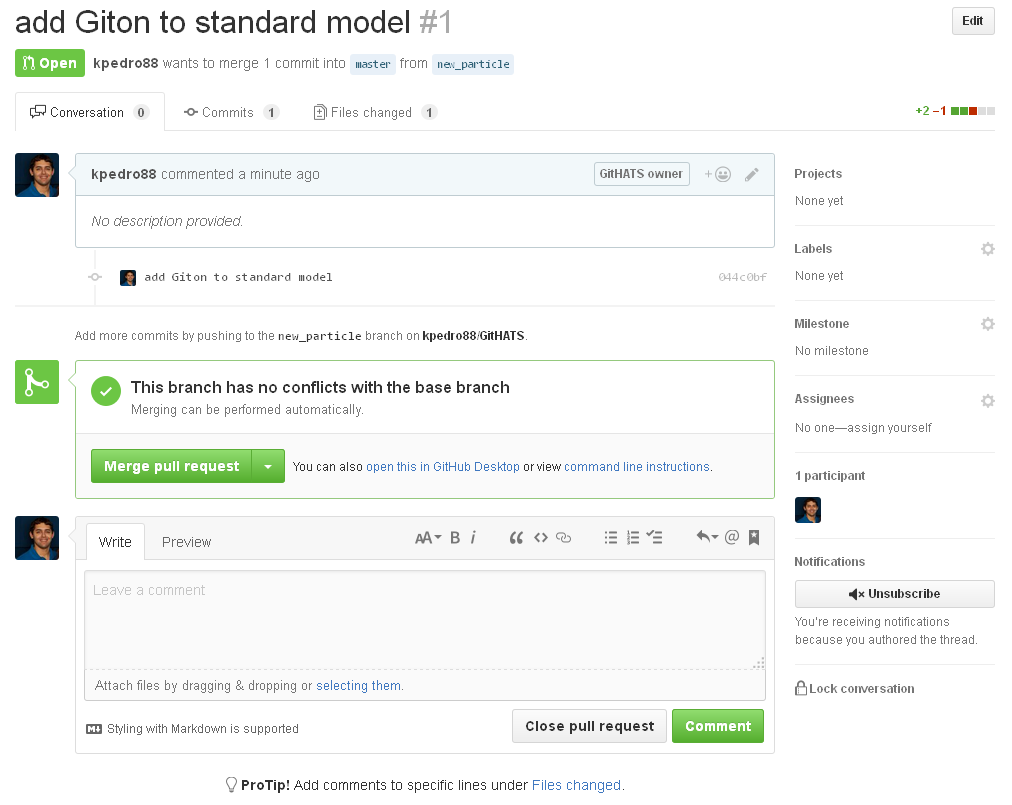
Now that you have made your change, you can submit it for inclusion in the central repository.
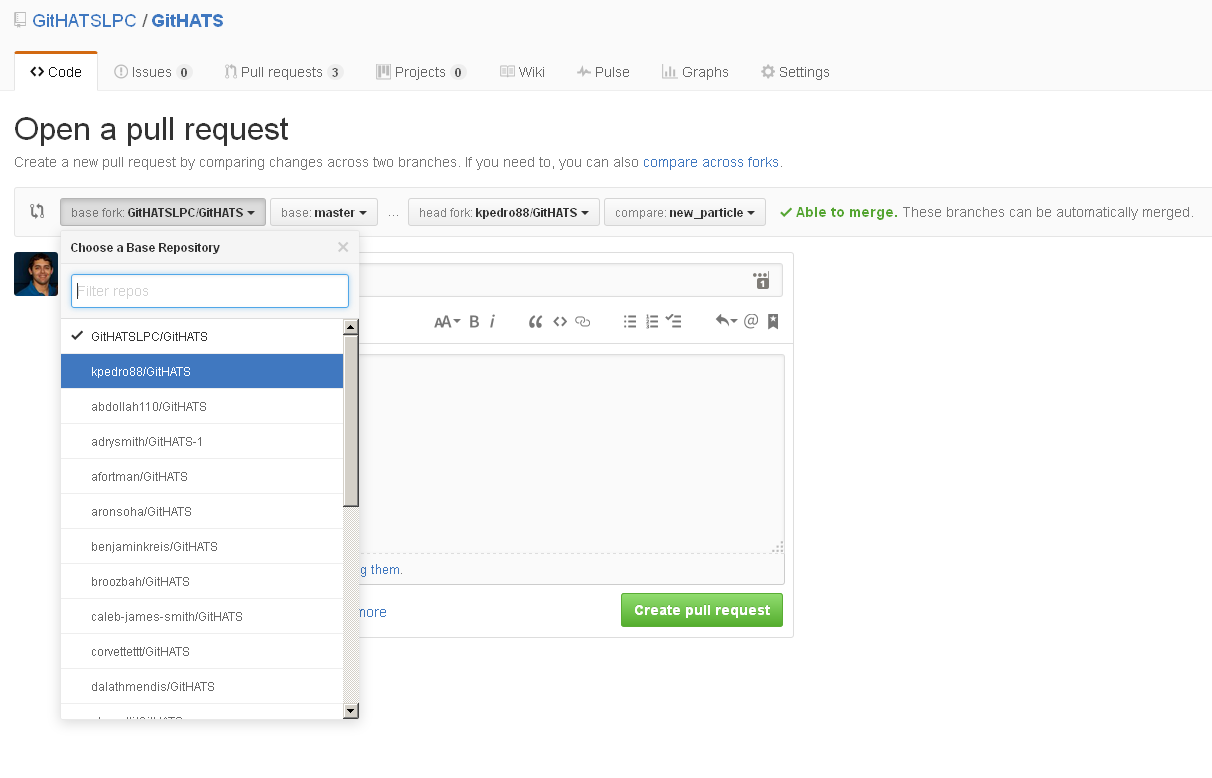
When you open the page to send a pull request on GitHub, you will notice that you can send a pull request to any fork of the repo (and any branch).

Send a pull request to the master branch of the upstream repo (GitHATSLPC).

Question 18.1
Post the link to your pull request.
For CMSDAS@LPC 2023 please submit your answer at the Google Form fifth set.
Optional
If you want to practice merging a pull request, you can send a pull request from your branch
MyBranchto your own master branch.
Advanced topics
Advanced topics not explored in this exercise include: merging, rebasing, cherry-picking, undoing, removing binary files, and CMSSW-specific commands and usage.
Students are encouraged to explore these topics on their own at CMSGitTutorial.
Key Points
In teract with your git configuration using
git config --global.Use the
git clonecommand to obtain a local copy of a git repository.Add and interact with new remotes using the
git remotecommand.Use the
addandcommitcommands to add changes to the local repository.The
pullandpushcommands will transfer changes between the remote and local copies of the repository.